DIY Insulation: Tips for Safe and Effective Installation
tiger exchange, golden77, sky 99 exch id:Insulation is an essential component of any home, helping to regulate temperature, reduce energy costs, and increase comfort. While hiring a professional to install insulation is always an option, many homeowners prefer to take on the task themselves with a little DIY know-how.
If you’re considering installing insulation in your home, it’s crucial to do so safely and effectively. Improper installation can lead to a host of problems, including decreased energy efficiency, mold growth, and even fire hazards. To help you tackle your insulation project like a pro, we’ve compiled a list of tips for safe and effective installation.
1. Determine the Right Type of Insulation
Before you begin your insulation project, it’s essential to determine the right type of insulation for your home. There are several different options available, including fiberglass, cellulose, spray foam, and rigid foam. Each type has its pros and cons, so be sure to research each one carefully to find the best fit for your needs.
2. Measure and Calculate
Once you’ve chosen the right type of insulation, it’s time to measure and calculate how much you’ll need. Properly measuring your space will ensure that you purchase the correct amount of insulation and avoid any gaps or air leaks. Be sure to measure the length, width, and height of the area you’ll be insulating, and take into account any obstructions or irregularities.
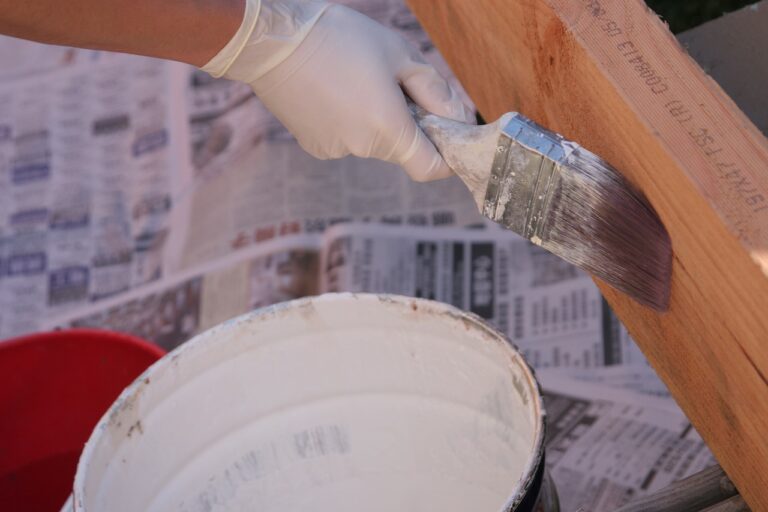
3. Prepare Your Workspace
Before you start installing insulation, it’s important to prepare your workspace. Clear out any clutter, secure loose wiring, and cover any openings or vents to prevent insulation from getting into unwanted areas. Additionally, make sure to wear appropriate personal protective equipment, such as gloves, goggles, and a mask, to protect yourself from fiberglass, dust, or other irritants.
4. Seal Any Air Leaks
One of the most critical steps in insulation installation is sealing any air leaks. Even the most high-quality insulation won’t be effective if air is leaking in and out of your home. Use caulk, weatherstripping, or spray foam to seal any cracks, gaps, or holes in your walls, windows, doors, and ductwork before adding insulation.
5. Install Vapor Barriers
In some cases, it may be necessary to install vapor barriers along with your insulation to prevent moisture from seeping into your walls. Vapor barriers are typically made of plastic or foil and should be installed on the warm side of your insulation. Be sure to follow manufacturer instructions carefully to ensure proper placement.
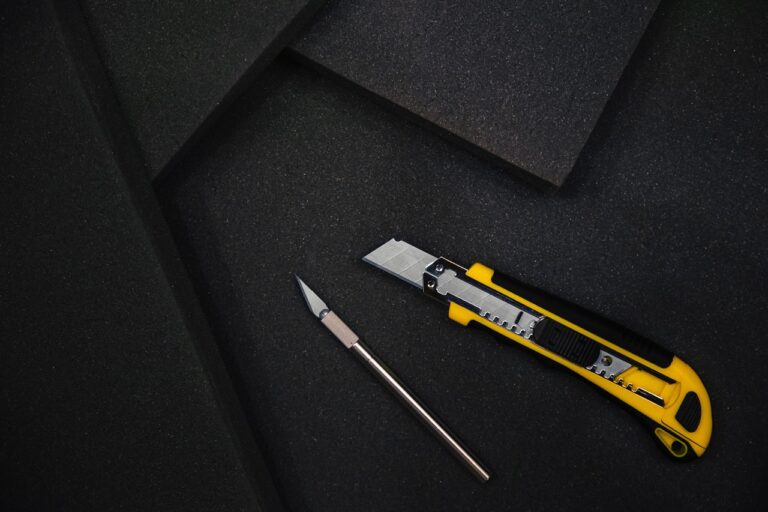
6. Cut and Fit Insulation
When installing insulation, it’s essential to cut and fit each piece correctly to ensure a tight seal and maximum effectiveness. Use a utility knife or insulation cutter to trim pieces to size, being careful not to compress or overstuff the insulation. Pay close attention to corners, edges, and tricky spaces to avoid gaps or voids.
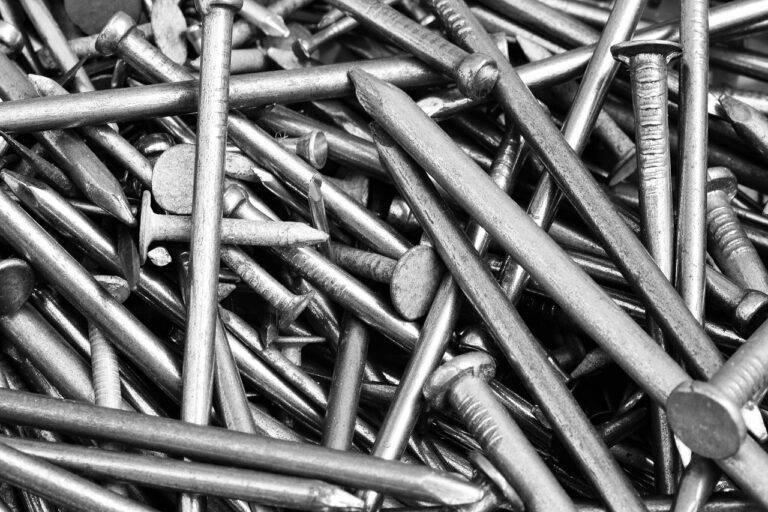
7. Secure Insulation Properly
Once you’ve cut and fit your insulation, it’s time to secure it in place. Use staples, nails, or special insulation supports to hold the insulation firmly against the framing. Be sure to avoid compressing the insulation, as this can decrease its effectiveness. If you’re using batts or rolls, fluff them up before installation to create air pockets for better insulation.
8. Consider Hiring a Professional
While DIY insulation can be a cost-effective and rewarding project, some tasks are best left to the professionals. If you’re unsure about your ability to install insulation safely and effectively, or if your project is particularly complex or large, it may be worth hiring a professional insulation contractor. They can ensure that your insulation is installed correctly and up to code.
9. Inspect Your Work
Once you’ve completed your insulation installation, take the time to inspect your work carefully. Look for any gaps, voids, or compressed areas and make any necessary adjustments. Check for proper coverage, tight seals, and secure fastenings to ensure that your insulation will provide maximum energy efficiency and comfort.
10. Clean Up
After you’ve finished installing insulation, be sure to clean up your workspace thoroughly. Dispose of any leftover materials, packaging, and debris properly, and vacuum or sweep up any dust or insulation particles. Proper cleanup will not only leave your home looking tidy but also ensure that your indoor air quality remains high.
FAQs
Q: How much money can I save by installing insulation myself?
A: The amount of money you can save by installing insulation yourself will vary depending on the size of your home, the type of insulation you choose, and your energy usage. On average, DIY insulation can save homeowners between 10-50% on their energy bills.
Q: What are the most common mistakes to avoid when installing insulation?
A: Some common mistakes to avoid when installing insulation include compressing the insulation, leaving gaps or voids, not sealing air leaks properly, and neglecting to wear proper protective equipment. Be sure to take your time, follow manufacturer instructions, and prioritize safety.
Q: How often should I replace or upgrade my insulation?
A: Insulation typically lasts for several decades, but it may need to be replaced or upgraded if it becomes damaged, compressed, or ineffective. If you notice drafts, uneven temperatures, or increased energy bills, it may be time to consider replacing or upgrading your insulation.
In conclusion, DIY insulation can be a rewarding project that can improve the energy efficiency and comfort of your home. By following these tips for safe and effective installation, you can ensure that your insulation project is a success. Remember to research your options, measure carefully, seal air leaks, cut and fit insulation correctly, and inspect your work thoroughly. If in doubt, don’t hesitate to consult a professional for guidance. Happy insulating!